
Learning how to use natural light in bird photography helps you create sharp, colorful, and detailed images. In this guide, you will find key methods to catch birds at their best using sunlight. Natural light is powerful, but knowing how to work with it can make all the difference. Saiba mais sobre Perch and Flight Shots:.
Light changes how a bird’s feathers look, affects sharpness, and influences mood in each photo. On the other hand, shadows and angles can either improve or ruin a perfect shot. Because of this, patience and positioning become just as important as your camera settings.
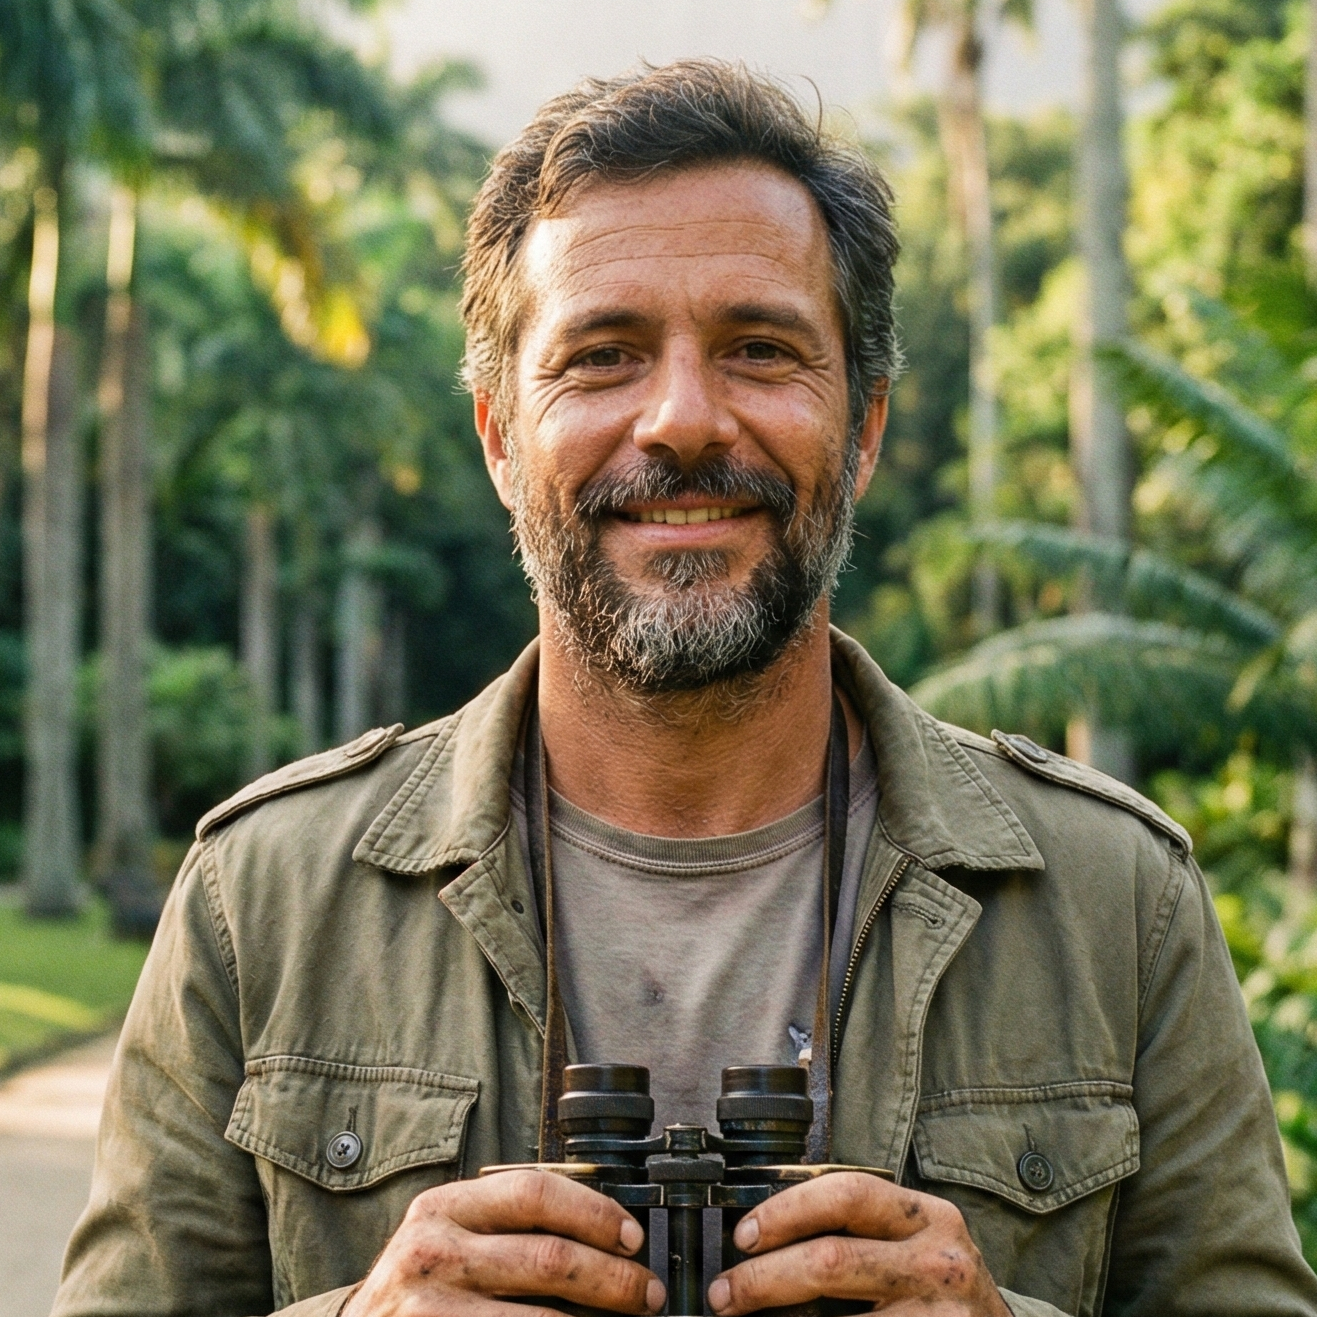
Bird photographers who master natural light often achieve better photos with less editing. With careful planning and practice, anyone can improve their skills and grow their portfolio. This article, tailored to the “position, light & patience” category, offers proven strategies for using nature’s best light.
Positioning: Setting Yourself Up for Great Light
Position is one of the most critical elements when learning how to use natural light in bird photography. Where you stand in relation to the sun and your subject determines the look of your images.
Most photographers agree that front lighting works best for sharp, bright bird images. This is when the sun sits behind you, shining fully on the bird. As a result, colors appear brighter and details become clearer. For example, photos taken with the sun at your back often show richer feather detail and more vivid color.
However, sometimes side lighting can add depth. Positioning yourself so that the sun hits the bird from the side casts gentle shadows. This shadowing can show the shape and layers of the feathers. Nevertheless, too much side light may hide some details, so experiment for different effects.
Backlighting is a third option. This is when the sun is in front of you, behind the bird. If used late or early in the day, it can add a soft glow or highlight around the bird. In fact, backlighting works best with birds that have lighter or semi-translucent feathers. However, this approach makes it harder to expose the bird’s body correctly, so use spot metering and check your settings.
In summary, start each session by noting where the sun is. Move around the area to find places where the light is soft yet strong enough to show details. Many experienced photographers will visit a location at different times during the day to learn how the light changes.
Adapting to Changing Light
Light changes fast, especially outdoors. Because of this, pay attention to cloud cover, sunrise, and sunset. The so-called “golden hours”—the first hour after sunrise and the last hour before sunset—give the softest, warmest light. As a result, it’s easier to capture rich colors without harsh shadows.
For example, during midday, sunlight can be very harsh. Shadows become dark and highlights show up as white blotches. Therefore, try shooting early in the morning or late in the afternoon instead. If you must shoot at midday, look for partial clouds or shaded spots.
In addition, remember to watch weather forecasts and plan your trips around times with soft sunlight. Sometimes, overcast days also provide gentle, even light that works well for photographing birds in forests or near water.
Harnessing Light for Mood and Detail
Natural light not only shows what a bird looks like, but it also affects the whole mood of your photograph. When you know how to use natural light well, images spark emotion and draw in viewers.
First, warm light (such as that found during golden hours) adds a gentle feel to your photos. Feathers appear smoother, eyes catch highlights, and colors pop. On the other hand, cooler morning light can give a fresh or crisp mood, especially with water birds or icy scenes.
Think about the direction and quality of light before you shoot. For backlit birds, you may want to expose for the bird’s outline or try silhouette shots. With side light, balance highlight and shadow so the photo still feels natural. In addition, watch the bird’s eye. For many species, a small glint or “catchlight” in the eye adds life and energy. Position yourself to let the sun create that sparkle. Saiba mais sobre Using Natural Light for.
According to Audubon’s bird photography tips, background and light are just as important as subject and focus. A cluttered background may distract. Because of this, try to place the bird against leaves or a plain sky for cleaner, more impactful shots.
Experiment with exposure compensation on your camera. If the background is much brighter than the bird, dial up your exposure by +1/3 or +2/3 to avoid a dark subject. If photographing a white bird in strong sunlight, lower the exposure slightly for detail.
Finally, always review photos on your camera’s screen before moving. Bright light outside may trick your eyes, but zooming in to check feather and eye detail helps you find the best shot.
Patience: Waiting for the Perfect Moment
Even with the right position and light, patience is key in bird photography. Birds move fast and change their position. Good use of natural light often means waiting for just the right instant.
Many expert bird photographers suggest finding a good spot and waiting quietly. Birds are less likely to notice you if you remain still. This patience pays off when the bird comes into ideal lighting or looks straight at the camera.
Timing also matters. Birds are often most active just after sunrise and before sunset. Because of this, you have better chances to catch them feeding, singing, or stretching wings during golden hours. If you keep your camera ready, you can react quickly to the best action. In fact, many stunning bird photographs are a result of both knowing where to stand and being willing to wait.
Similarly, timing is important with light itself. Clouds may move and soften the sun, or sunlight may creep through the trees to create perfect beams. For example, on partly cloudy days, patience helps you catch brief sunbursts on a perched bird.
If photographing water birds, be prepared for sudden changes in light reflections. A still pond may turn mirror-like as the sun rises. Some photographers will use this reflection as part of the composition, which adds interest and balance.
Data from Cornell Lab of Ornithology indicate that species behave differently based on time of day, weather, and light conditions. Understanding the routines of local birds helps you decide when to wait for the best photo opportunities.
Remember, bird photography is not a race. The longer you give yourself to wait and observe, the more likely you will capture that one-in-a-million shot.
Camera Settings and Practical Tools for Natural Light Mastery
While position and patience help, camera settings also play a big role when using natural light in bird photography. Knowing how to adjust exposure, ISO, and focus makes your photos even better.
First, always use the lowest ISO possible while keeping your shutter speed fast enough to freeze the bird’s movement. For most birds, a shutter speed of at least 1/1000 second is recommended. In low light, you may have to raise ISO slightly, but keep it under 1600 to avoid grainy images.
Aperture affects how much of the scene is in focus. Use a wider aperture (like f/4 or f/5.6) to blur the background while keeping the bird sharp. This technique helps your subject stand out, especially if the background is busy.
Metering mode helps your camera judge light accurately. Spot or center-weighted metering works best for birds. It tells the camera to use the light on the bird—not the background—for exposure decisions.
Exposure compensation is your friend in tricky lighting. Birds in bright sun, especially white or light-colored ones, often need dialing exposure down by -1/3 or -2/3. For dark birds in shadows, you may need to increase exposure slightly.
Use burst mode (continuous shooting) to capture several frames quickly. This increases your odds of getting the perfect pose with good light on the eye.
Finally, always carry a lens hood. It helps block glare and can shield your lens from unexpected changes in light. A simple cloth or small shade can also help if the sun is just out of frame.
In addition, keep your camera strap ready for quick, silent movement. Sudden shifts in sunlight can open up unexpected chances, so you need to be able to adjust fast.
Review your images after each session. Identify patterns—when the light was best, which spots worked, and what details came through. Over time, this practice makes your light reading skills stronger.
Post-Processing: Enhancing Light Without Overdoing It
Editing should never replace getting lighting right in the field; however, it can help you fix small problems with exposure or color balance.
First, use editing tools (like Adobe Lightroom or DxO PhotoLab) to adjust exposure and contrast. Lighten up shadows if the bird looks too dark. Lower highlights if parts of a white bird appear washed out.
Adjust white balance to match the mood of the original light. Golden hour photos often benefit from a slight warmth in post-processing. For backlit shots, increase contrast just enough to preserve the soft rim-light effect.
Sharpening tools help feathers appear crisp. Be careful not to add too much noise, especially in low-light images. Crop photos to focus on the bird and remove distractions, but always keep enough background for context.
In fact, most experts agree that less is more with post-processing. Aim to let your natural light work shine through instead of relying on digital fixes. Share both edited and unedited versions with friends to learn what works best.
Conclusion
To sum up, how to use natural light in bird photography is about smart positioning, reading light, and practicing patience. The best shots often happen when you wait for the right moment and use the sun to your advantage. Adjust your camera settings to fit the situation, and be ready for fast changes in light and bird action.
Review your successes and learn from missed chances. With time, you’ll start to see patterns in light and bird behavior. In fact, that’s how you build skill and confidence in this field.
Try out these techniques during your next wildlife outing. Observe, wait, and let the light do the work. The beauty of birds and sunlight together can lead to truly memorable photos.
Leave a Reply